Thursday, March 22, 2012

May the Odds be Ever in Your Favor~


Bleach T-Shirt


Is anyone else thrilled that the Hunger Games movie comes out tomorrow?  That's a silly question, because it is all over the media.  Being an English teacher, I'm extra excited that a fabulous book is being turned into a popular movie.  My students have been talking about it all week, and we have certainly tried to play it up.  Our school librarian has done daily HG trivia in anticipation for the movie.  Tomorrow, I'm giving out tiny printed mockingjay pins with safety pins.  We're going to wear our pins proudly.  And of course, never wanting to pass up an opportunity to make a t-shirt, I made my own festive garb for the premier.  Dan has already pleaded, "Don't be that person and wear the clothes to the movie."  Sorry, babe.  I missed all my chances to dress up like a wizard at the Harry Potter movies.  I can't pass up this chance!


Anyway, to talk about the book, and then on to the craft in paragraph 3.  If you haven't read it yet, put down your computer and go to your local library and check it out.  The three books are completely worth the week it will take to read them.  Seriously.  They are such enthralling reads, you won't put them down until you've blazed through all of them.   Here is the synopsis from Amazon:  "In the ruins of a place once known as North America lies the nation of Panem, a shining Capitol   surrounded by twelve outlying districts. Long ago the districts waged war on the Capitol and were defeated. As part of the surrender terms, each district agreed to send one boy and one girl to appear in an annual televised event called, "The Hunger Games," a fight to the death on live TV. Sixteen-year-old Katniss Everdeen, who lives alone with her mother and younger sister, regards it as a death sentence when she is forced to represent her district in the Games. The terrain, rules, and level of audience participation may change but one thing is constant: kill or be killed."  If you are thinking that it sounds a little violent, you are right.  The violence is set in the story line, and it's not just gore for the sake of gore.  You fall in love with Peeta, admire Katniss, swoon for Gale, curse at Haymitch, and weep for Rue.


So, I made a shirt to wear to school on Friday.  I really enjoyed bleaching my first shirt, so I chose that method.  I cheated and printed a picture, and cut out a stencil.  I traced the cut-out mockingjay pin silhouette with chalk.  I bleached it in three stages.  The first thing I did was bleach the outer circle.  I squirted on the bleach with the pen, and then used a cheap, plastic-bristle water color paintbrush.  I painted the bleach in the circle.  Since the layer of bleach was so thin, the shirt color changed before my eyes.  I chose an army green color to represent Katniss' war, as well as the bleached color.  The bleach turned the shirt a rust color.  Perfect!


Since it dyed so quickly, I rinsed it before I painted in the center.  I didn't want the ring to get too bright.  So round 2 was bleaching out the center.   That was pretty easy.  I did have to retrace the center with chalk since it washed out with round 1, so I was glad I didn't throw my stencil away.


Round three was adding the depth.  I bleached out the highlighted places.  This time I actually drew it.  I laid it on pretty thick, and some areas thicker than others.  I tried to blend the bleach on the wings from heavy to no bleach.  I was very nervous in this stage.  I knew it looked good in stages 1 & 2, so it was a risk.  And besides my Pico cat jumping on the wet bleach and smearing the top, I LOVE how it turned out.  It looks rustic and crude in a way, but that description fits the arena.


"May the Odds be Ever in Your Favor."


**Picture from Google.

Sunday, January 29, 2012

Lunchbox

Vera Copy ~ Lunchbox


My friend Kristin has a cute Vera lunchbox that I often envy while we eat.  I made a lunchbox a while ago, but the pattern was a lot bigger than I thought, and it turned out a little big.  (I have not posted that project, because there are too many flaws.  Maybe one day.)  So, I had a shape in mind, and I sketched a picture.  I figured out all of the measurements, and even though I doubted my math a couple times, it came together perfectly.  That happens so infrequently, I have to boast when it does!  

I used my new walking foot from mom2 to quilt the outer fabric to the inner fabric with the thermal lining in it.  It was so nice!  With a standard foot, the fabric puckers as it pulls the two pieces.  The dual foot didn't pull at all, and I didn't even have to pin the fabric together!  It was like magic! :)


I put a zipper in it, a pocket in the back, some piping, and a vinyl name-tag window.  I LOVE how it turned out.  There is not one thing I would change. It took a long time to cut, fuse, quilt, and sew, but all the details make it well worth it.


 Here is the lining.

Tuesday, January 10, 2012

Take Thatsy!

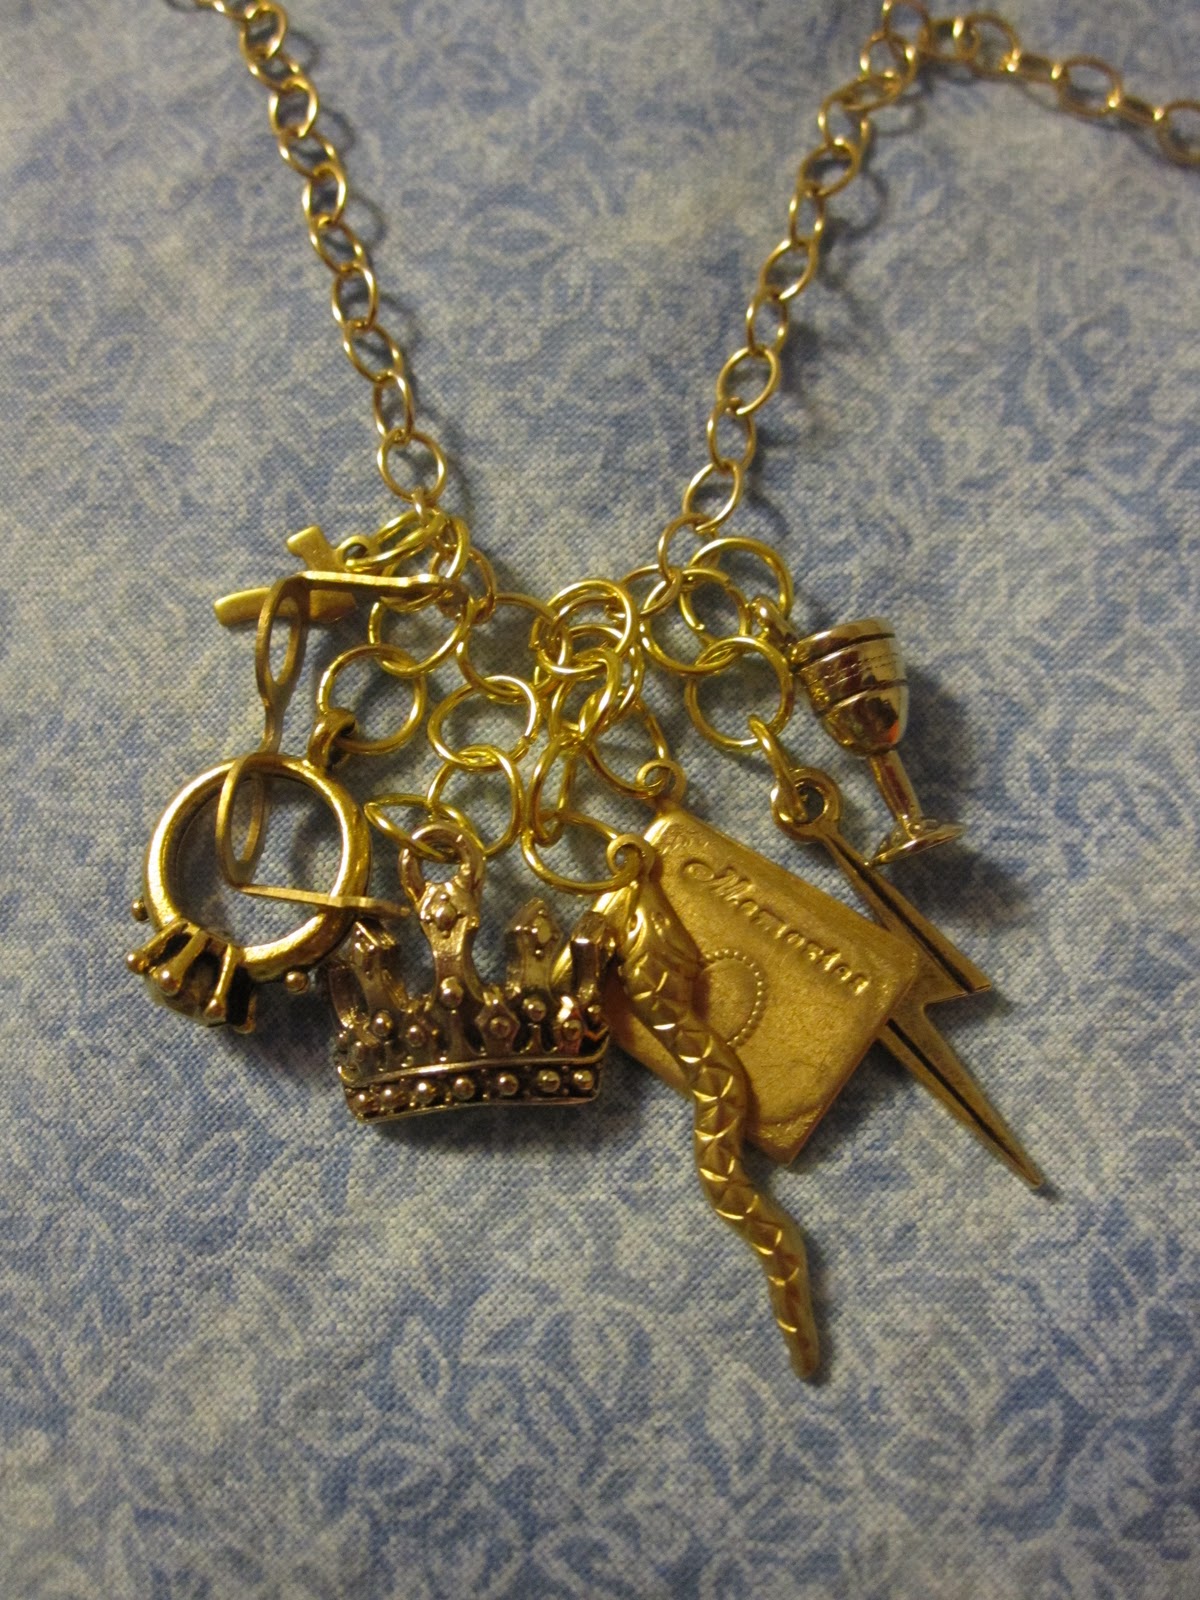
Harry Potter Copy-cat Jewelry


So on my new favorite website, Pinterest, I found this horcrux necklace.  It was on Etsy for around $70.  Well I loved the idea, but of course I didn't want to spend that much money!
Pinned Image

Above is my inspiration for my own $10 version.  It looks less eclectic, but I think it's a good substitute.  I used two cheap charm websites to compile my horcruxes and Harry Potter-themed necklaces.


I also made a silver one, which is just general objects related to the series.


Each was less than $10, which includes the 30 inch chain!  Take that, overpriced Etsy listing!

Shoulder Bag Updates

Here are some more bags I've made for Etsy or presents.  Katherine got the teal and navy one.  The rest are on, or will be on Etsy soon!


Dressform Cover


I made a zippered cover to replace the plastic bag that was protecting my dressform.  I think it's much classier than it's plastic predecessor.  I have a lot of this gray, decor weight fabric that I used (Thanks, Kat!), so I think I'm also going to make a sewing machine carrying case, and some other traveling accessories.  That's in the more distant future, but it would be nice to have a matching set.


Monday, January 9, 2012

Christmas Decorations

Quilted Table Square


This Christmas I made a table square.  I don't have many decorations for Christmas, and I thought my table needed some attention.  I got some red and white fabric on clearance at JoAnn.  The back is green.  It's got fleece on the inside, so I can use it as a hot pad.  It's about 18" by 18".


It's nothing fancy, but just something to liven up the house.

Sunday, November 27, 2011

T-shirt Upcycle


Bleach Design T-Shirt


I came across the idea for this on Pinterest, my newest inspiration for recipes, crafts, and decorating.  My husband and I went to the J.Crew warehouse sale on Black Friday, and we scored some great deals! 


Side note about the sale:
The sale is in Lynchburg, VA, in a large warehouse, with hundreds of boxes.  They only let 200 people enter at a time, so you need to get there early and wait in line.  If you're not in the first group, you end up waiting HOURS until people start to leave.  Once you're in, the boxes aren't organized at all.  You go in, choose a box that's not "taken," and rummage. I forgot to mention that as you enter, they hand you a price list and a trash bag - that's right - to gather your clothes.  So you go through box after box after box, looking for anything you like that happens to be in your size.  Surprisingly, my large bag always fills up quickly.  Then, when you have gathered a lot of options, you find a spot that is as out of the chaos as possible, and you start sifting.  Some of the clothes are damaged, and you can throw them out in the first round.  There are no dressing rooms, so if you want to try things on, you need to wear a tank top and leggings, and try it all on over-top of your clothes.  You do a preliminary downsizing of your things, then go back to the rummaging.  Continue the cycle as many times as necessary.


I was on the look out for some cute t-shirts (which were $5.oo!) that I could bleach.  I found 2 solid-colored, V-neck shirts. I had already purchased the bleach pen from WM. (Make sure it's for whites!)  I first put a piece of cardboard in my shirt, to prevent the bleach soaking through.  I then drew my design out in chalk.  Well, it didn't write very well, but I got the major shapes down.  I then started at the top, and just drew!  Sometimes it bubbled, but I had a paper towel handy to just wipe the tip off and continue on.   In the picture below, you can see some of my chalk lines and the wet gel.


I let it sit for about 20-30 minutes, rinsed it off in the bathtub, then stuck it in the washer machine.  I love it!  I did a side design (modeled after one I saw on Pinterest) for this shirt.  I plan on doing a front design on the other shirt I got.  I'm just waiting for the perfect inspiration.   These pictures show the design in a more yellow light; the true coloring is seen on the dress form.


Pico de Gato wanted to help. :)


Tadaa!  The best part is that it took 30 minutes total, including sketching, tracing, and rinsing.